spoon

Baked Southwestern Eggrolls

0

Category:


Now here is easy and delicious recipe! And it's very different, so it will be unlike anything your guests have had before.

Let's face it, cooking foreign foods is scary. You pretty much have excepted the fact that you can never make authentic crunchy tacos or egg rolls in your own kitchen. But I'm here to tell you that it is easier than you think! Being a country girl from Kentucky, I never thought I would be able to successfully make these foods, but not only were they a hit, but I've received many compliments from the husband and dog (and occasional dinner guest).

So let's get right to it!

Here's what you'll need:


  • 1 package of egg roll or wonton wrappers
  • 1 medium yellow onion, diced or 4 scallions, chopped
  • 2 cups of corn, frozen or canned and drained
  • 1 15oz can of black beans, drained
  • 1 7oz can of diced chiles
  • 8-9oz of spinach
  • 2 cups of shredded cheese of your choice (I used monterey jack and cheddar) 
  • salt to taste
  • 1 teaspoon cayenne pepper
  • 1/2 teaspoon chili powder
  • 1 teaspoon ground cumin

Step one: Preheat oven to 425. Take some paper towels and lay on the counter. Place spinach on paper towels and fold over. Press gently to dry off spinach. 


Step two: Chop onion. Prepare to mix together all of your ingredients except for egg roll wrappers. 


Step three: In a mixing bowl, gently mix your spinach, onion, chiles, black beans, cheese, corn, cumin, salt, cayenne, and chili powder. 


Step four: Prepare your wrappers on a greased cookie sheet and spoon a portion of your mix onto wrappers. 


Step five: Gently fold together. If any wrappers are difficult to seal or tear, wet your fingers with water and press gently on the tear or opening to seal. 


Step six: Repeat until you run out of wrappers or mix. 


Step seven: Brush the rolls with olive oil or spray with cooking spray. Bake in the oven for 15-20 until lightly browned. Flipping them once during the 15 minutes so that they bake evenly. 

Enjoy!!!


You could also choose to deep fry these if you wished. I think they were just as good baked, though. Use sour cream or ranch for dipping. 

These were delicious and again, super easy to make. I hope you give these a try! My husband and I both really enjoyed them! 

Strawberry Lemonade Sangria (White)

0

Category:


So... In keeping with the promise I made in the Pizza Panini post, I'm making my second post for today. White Sangria. 

I'm usually not a fan of white Sangrias. They just aren't as rich and tasty as the Red's, but in this case, white will do just fine. This is probably my favorite sangria I've ever tried. Granted, there aren't many I have tried, but this one is the best on that short list. 

On top of all of its tastiness, it's ridiculously easy to make. The hardest part is honestly waiting on it to soak. 

So, here's what you will need:

  • 2 bottles of white wine (Riesling works best for this - I used one of my favs Funf Sassy White)
  • 2 containers of lemonade concentrate
  • 1 package of strawberries
  • 2-3 lemons
  • 1 cup of rum
**Note: I did NOT use Black Cherry Rum. Long story short, that's Captain Morgan in the Cruzan Bottle**

Step one: Slice your lemons and strawberries. I like to slice the lemons very thin, but that is totally up to you. 


Step two: Place your strawberries and lemons into your pitcher. 


Step three: Pour in both bottles of white wine. 


Step four: Pour in 1 cup of rum. If you add a splash or 2 more, don't worry, I'm not telling. 


Step five: Stir in your lemonade concentrate. You may have to stir for a few minutes for it to fully dissolve. If it doesn't dissolve completely you will have sugary lemonade at the bottom of your pitcher. 


Step six: You're all done! Let the pitcher chill for at least 4 hours. I like to let mine soak for at least 2 days before serving. It's really at its prime between 2-4 days of sitting in the refrigerator. Enjoy! 


I just can't put into words how tasty this sangria is. If you're a wine-lover, you really have to try this for yourself! 


Pizza Panini (Or Pizza Grilled Cheese)

0

Category:


Whoa! Am I behind or what? I have about 6 folders of pictures of recent dinners to go through and edit. Shew! Talk about a busy lady! 

I think to make up for it, I'll be making an extra post today. How about a delicious strawberry lemonade sangria? Will that repay for my heinous crimes? Okay then. 

Alright, so this pizza grilled cheese is a really fast and simple dish. Perfect for a quick lunch or late snack. I'll admit, I got the idea from Pinterest, but I never pinned the pin. So this was all me, in a way. 

Anyway, let's get right to it! 

Ingredients: 

  • Bread - use regular white or french works too, if ya wanna get all fancy
  • Pizza sauce
  • Mozzarella cheese, shredded
  • Italian Seasoning
  • Butter
  • Favorite pizza toppings

Step one: In a large pan, melt a scoop of butter. If you like your grilled cheeses gooey and buttery, use a knife to spread the butter on the bread instead. My husband likes his a little dry and burnt, so I used this method instead. 


Step two: Spread out your bread in the pan. One it has absorbed some of the butter, flip it over. 


Step three: Next is all the middle stuff. Unless you like your sandwiches really burnt, you will need to go through this step relatively quickly as to not let your sandwiches burn too much. First is your pizza sauce. 

Step four: Next, sprinkle on your Italian seasoning. Don't over do it, but I like to think this is necessary to give it a pizza taste. 


Step five: Next is the cheese. 


Step six: Lastly, put your toppings on. I put pepperoni on my husband's and just used cheese for myself (stopped at the last step). Next time, I'm considering some bell pepper for myself. 


Step seven: Bring your bread together and flip a few times, according to how dark you prefer your bread. Serve warm and enjoy! 


What did I tell you; really quick and easy, eh? 

These are always a hit with my husband. Enjoy! 

Triple Header! Aged white cheddar and roasted cauliflower soup, roasted potato slices, and sweet corn bread!

0

Category:


Wow! I've been a busy girl! As you've probably figured out by now, I usually don't take the time to prepare and make a huge meal with all the fixin's. This kind of happened on a whim. The soup was a definite, but then I was thinking "these potatoes I've been wanting to try would go good with this. And oh!!! I soooo need to make the sweet cornbread, too!" And here we are. 

The soup and cornbread I've made before. The potatoes were a first and unfortunately I didn't watch them close enough and burned most of them, but that was my fault. The potatoes that were cooked just right were yummy and I would definitely recommend them, and they were super easy to make! 

The soup is a more complicated dish, but worth the effort. Very tasty and reheats well. I would suggest adding garlic according to your taste. I think I added a tad too much garlic this time, and will reduce that in the future. 

It's important to note that the soup is a puree, so you will need a food processor, a blender, or a hand mixer. I used a blender and if you do this, you have to hold that lid down TIGHT! The first time I made this, I got pureed soup all over the kitchen and myself, and a second degree burn or two. No joke! 

Well, what are we waiting for! Let's break this down! 

Aged White Cheddar and Roasted Cauliflower Soup

Ingredients: 

  • 1 head cauliflower, roughly chopped
  • 3 cups vegetable or chicken broth
  • 1 medium onion, diced
  • 2 cups of aged white cheddar, shredded
  • 1 cup milk or cream
  • Olive oil
  • Salt and pepper to taste
  • 2 cloves garlic, chopped
  • 1 teaspoon thyme

Step one: Preheat oven to 425. First we will need to roast the cauliflower so chop it up and find a bowl with a lid. 

Step two: Place the cauliflower in the bowl and drizzle oil, salt, and pepper. Close the lid and make sure its secured tightly, and shake! 


Step three: Place your tossed cauliflower on a cookie sheet and bake in the oven for about 15 minutes (cauliflower will start to brown). 


Step four: Chop your onion. Grab a pot and put it over medium heat with some oil coating the bottom. Place your chopped onion in the oil and sauté for 5-7 minutes or until browned. 


Step five: Add the garlic and thyme and sauté until fragrant  (about 1 1/2 minutes). Pour your vegetable broth into the pot, deglazing it. 


Step six: Let the broth simmer or kept on low until your cauliflower is finished. Once roasted thoroughly, add it to the pot and bring the pot to a boil, and then let simmer, covered, for 20 minutes. 


Step seven: After 20 minutes has passed, it's time to puree the soup. I added mine to a blender but you may also use a processor or a hand mixer - whatever is easiest for you. (If you use a blender, be sure to hold the lid down TIGHT!). Pulse until you reach the desired consistency. 


Step eight: Return the soup to the pot. If you haven't already shredded your cheese (if not already shredded), do so now. Add it to the pot and mix until melted. 


Step nine: Add your milk or cream. Stir. Serve warm, and enjoy! 


Roasted Potato Slices

Ingredients: 

  • 2-3 large potatoes
  • olive oil
  • salt and pepper to taste
  • parmesan cheese
  • Italian seasoning

Step one: Preheat oven to 425. Slice the potatoes very thin. 


Step two: Find a bowl with a tight lid. Toss the potatoes with oil, salt, pepper, and Italian seasoning. 


Step three: Spread out potato slices evenly onto a cookie sheet. Bake for 20 minutes. 


Step four: After twenty minutes has passed, sprinkle the parmesan cheese on top of the slices and bake for an additional 5 minutes. 


Serve and enjoy! Really simple recipe. Your slices should not be as dark as mine as long as you watch them closely! I burnt some (oops!). 


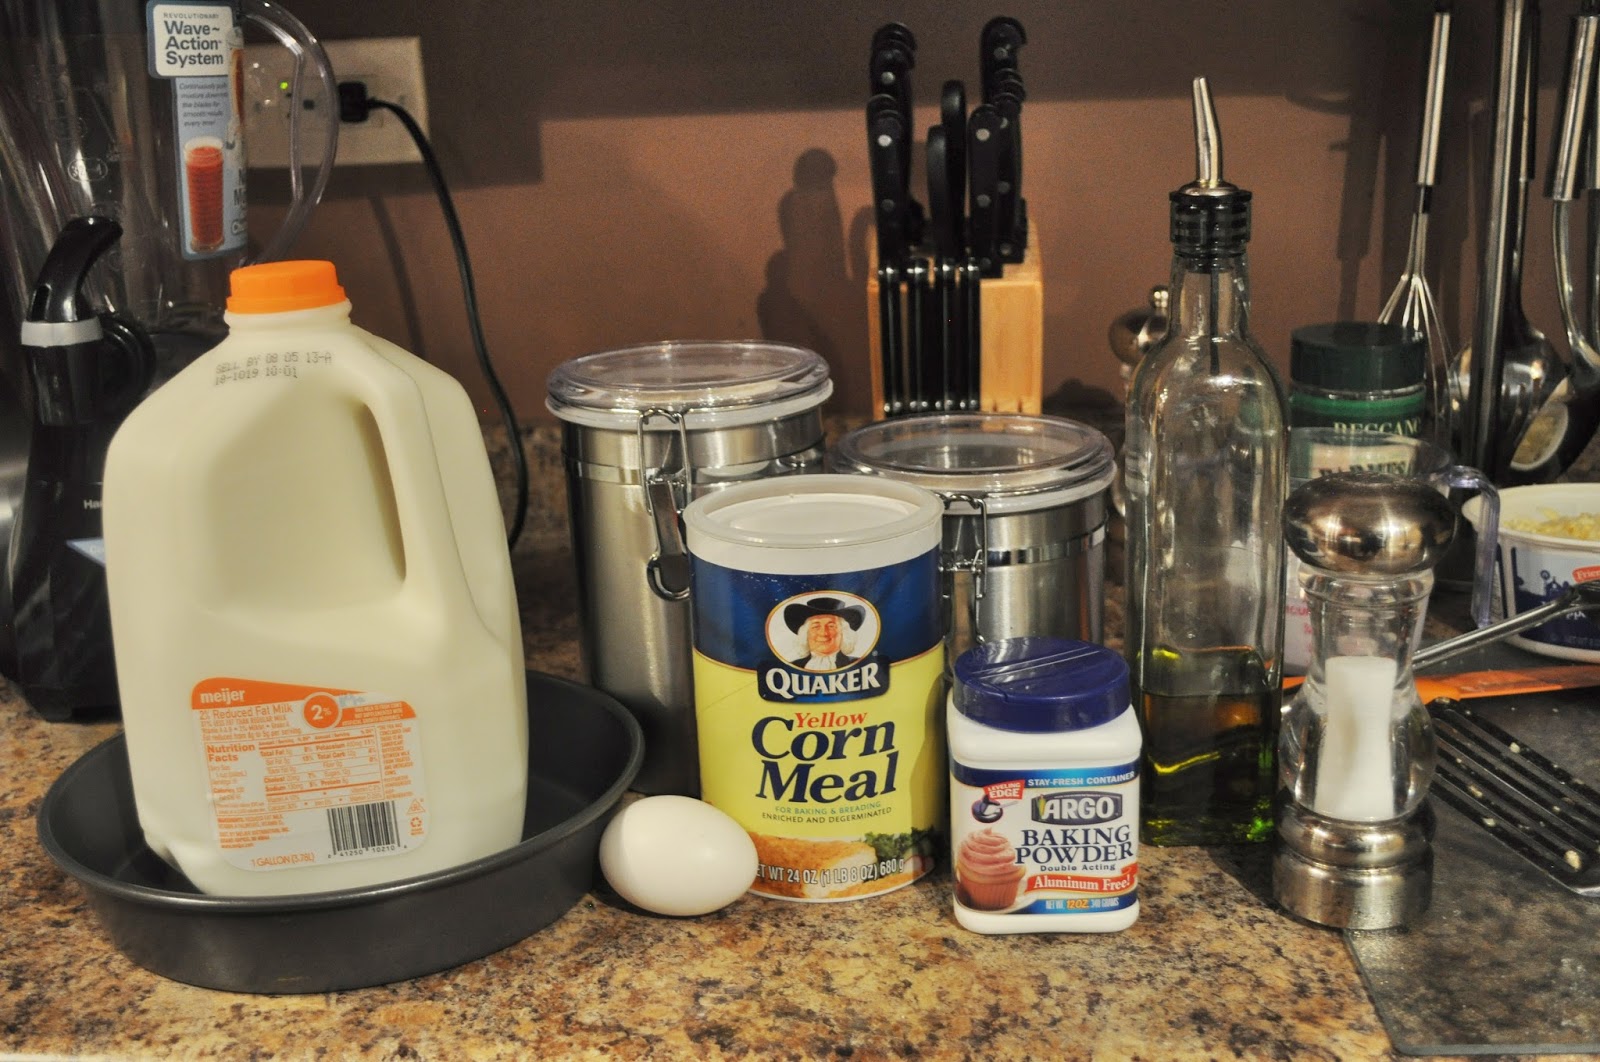
Sweet Corn Bread

Ingredients: 

  • 1 cup all purpose flour
  • 1 cup yellow cornmeal
  • 2/3 cup white sugar
  • 3 teaspoons baking soda/powder
  • 1 egg
  • 1 cup milk
  • 1/3 oil

Step one: Preheat oven 400 degrees. In a mixing bowl, mix together the flour, cornmeal, baking powder, sugar, and a pinch of salt. 


Step two: Stir in your egg, milk, and oil. Mix until the consistency is smooth. 


Step three: Place in greased round pan. Bake for 20-25 minutes. Serve and enjoy! 


The cornbread is good for about a day to day and a half after you cook it, but leave it out and don't place it in the fridge. 

I found this recipe on pinterest, but apparently didn't pin it? So I don't have a link, but it's delicious and you should absolutely try it if you love corn bread. Or just bread. Who else is a bread-lover like me? 

Anyway, this was quite the hearty meal, and thoroughly enjoyed by both of us, and made me feel very accomplished.